Beginner Examples#
Example A assumes you already have a functioninig app that you would like to deploy to the web. If you do not have an app and would like to start with a dash-tools template that contains a sample app, jump to Example B.
A. Deploying and Updating a Deployed App with Heroku#
Deploying an App#
Make sure you are in your project’s root directory. For example, your project folder structure might look like this:
MyApp
└── src
    |-- app.py
    └── ...
In your terminal or command prompt, replace “MyApp” below with the root directory name of your project, and go into that directory:
cd MyApp
If you did not create a boilerplate app using dashtools, you must verify that your app is ready to be deployed to Heroku:
Your project must contain an app.py file
Your app.py file must contain a
servervariable after your initialize your app:
app = Dash(__name__)
server = app.server
If your app has local csv or excel sheets, read below. Otherwise, skip to step 4.
Requirements
A. Your project folder structure should have a data folder that contains the csv/excel sheet. For example:
MyApp
|── src
|   |-- app.py
|   └── ...
└── data
    └── YourCsvFileName.csv
B. When loading in CSV data, make sure to use the correct path to the data file, as seen below:
import pandas as pd
import pathlib

def get_pandas_data(csv_filename: str) -> pd.DataFrame:
   '''
   Load data from /data directory as a pandas DataFrame
   using relative paths. Relative paths are necessary for
   data loading to work in Heroku.
   '''
   PATH = pathlib.Path(__file__).parent
   DATA_PATH = PATH.joinpath("data").resolve()
   return pd.read_csv(DATA_PATH.joinpath(csv_filename))

my_csv_dataframe = get_pandas_data("MyCSVFile.csv")
Verify that running your app locally produces no errors
Deploying to Heroku is made simple with the following command:
dashtools heroku --deploy
Updating an App#
Updates can only be pushed to projects that are already deployed on Heroku via above example Deploying an App.
From the project’s root directory, or the “MyApp” directory in the example above, run the following update command to push all changes to your deployed Heroku app:
dashtools heroku --update
B. Create an App#
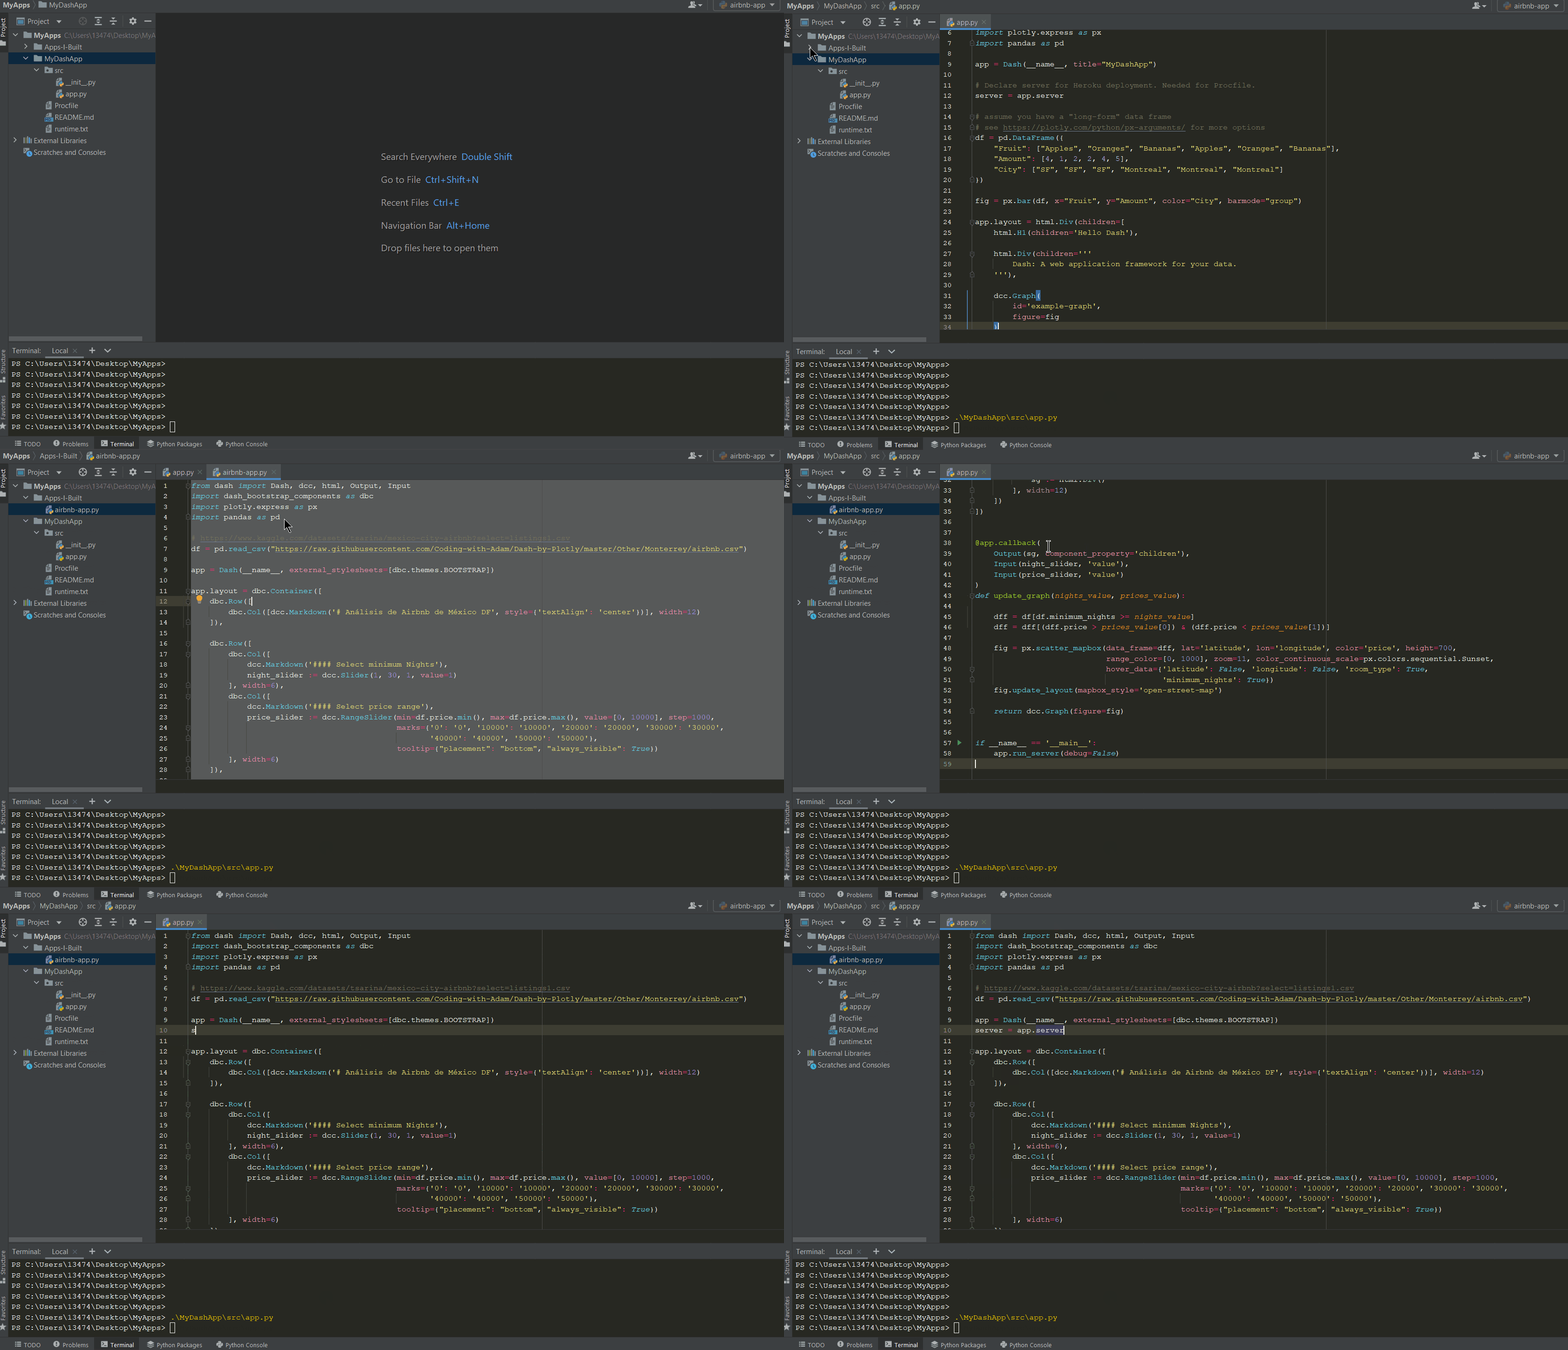
Create a Dash project in a new directory called “MyDashApp” (using your terminal or command prompt):
Naming Note
"MyDashApp" can be changed to any name. However, for the purpose of this tutorial, we recommend keeping it as "MyDashApp".dashtools init MyDashApp
Open the default
app.pyfile that comes with this project:Windows
.\MyDashApp\src\app.py
Linux and Mac OS
./MyDashApp/src/app.pyReplace the code in
app.pywith your own app code. Make sure to keep theserver = app.serverright after app instantiation:

Make sure you are in your project’s root directory:
cd MyDashApp
Run your app to ensure it works:
Linux and Mac OS
python src/app.pyWindows
python src\app.py