Making Changes and Deploying to Heroku#
The following tutorial will explain how
dashtools heroku --deployworks, and how you can usedashtools heroku --updateto push new changes to your deployed app. Check out the Usage Examples section in the Readme before you begin.
Creating an App#
Create a Dash project in a new directory called “MyApp” (using your terminal or command prompt) using the “sidebar” template:
Note
"MyApp" can be changed to any name. However, for the purpose of this tutorial, we recommend keeping it as "MyApp".dashtools init MyApp sidebar
Open the default
app.pyfile that comes with this project:Windows
.\MyApp\src\app.py
Linux and Mac OS
./MyApp/src/app.pyMake sure you are in your project’s root directory:
cd MyApp
Run your app to ensure it works:
Note
The run command can be used instead of the traditional "python ./src/app.py" command. In effect, they do the same thing.dashtools runVisiting http://127.0.0.1:8050/ in your browser will show local changes to the app in real-time
Deploy App to Web with Heroku#
Deploy to Heroku:
Note
The heroku --deploy command creates a new heroku project in your account, adds a git remote called heroku, and pushes changes to the remote. You can use the heroku --update command, discussed below, to push new changes.dashtools heroku --deploy
Visit your app online to view what it looks like. The URL will be provided when you deploy your app after Application Page
Make Changes#
Change the tab title
On line 20, replace
MyAppintitle="MyApp"with any name you want. Observe that the tab title in your browser will update automaticallyapp = dash.Dash( title="My Homepage", external_stylesheets=[dbc.themes.BOOTSTRAP], )
Receiving a "Site can’t be reached" error?
If you receive this error, make sure to correct any python syntax errors you might have and re-run the `dashtools run` command. Since your site is being re-rendered after each change you make, if your app isn't valid python syntax, it will cause this errorChange the sidebar
On line 46, the
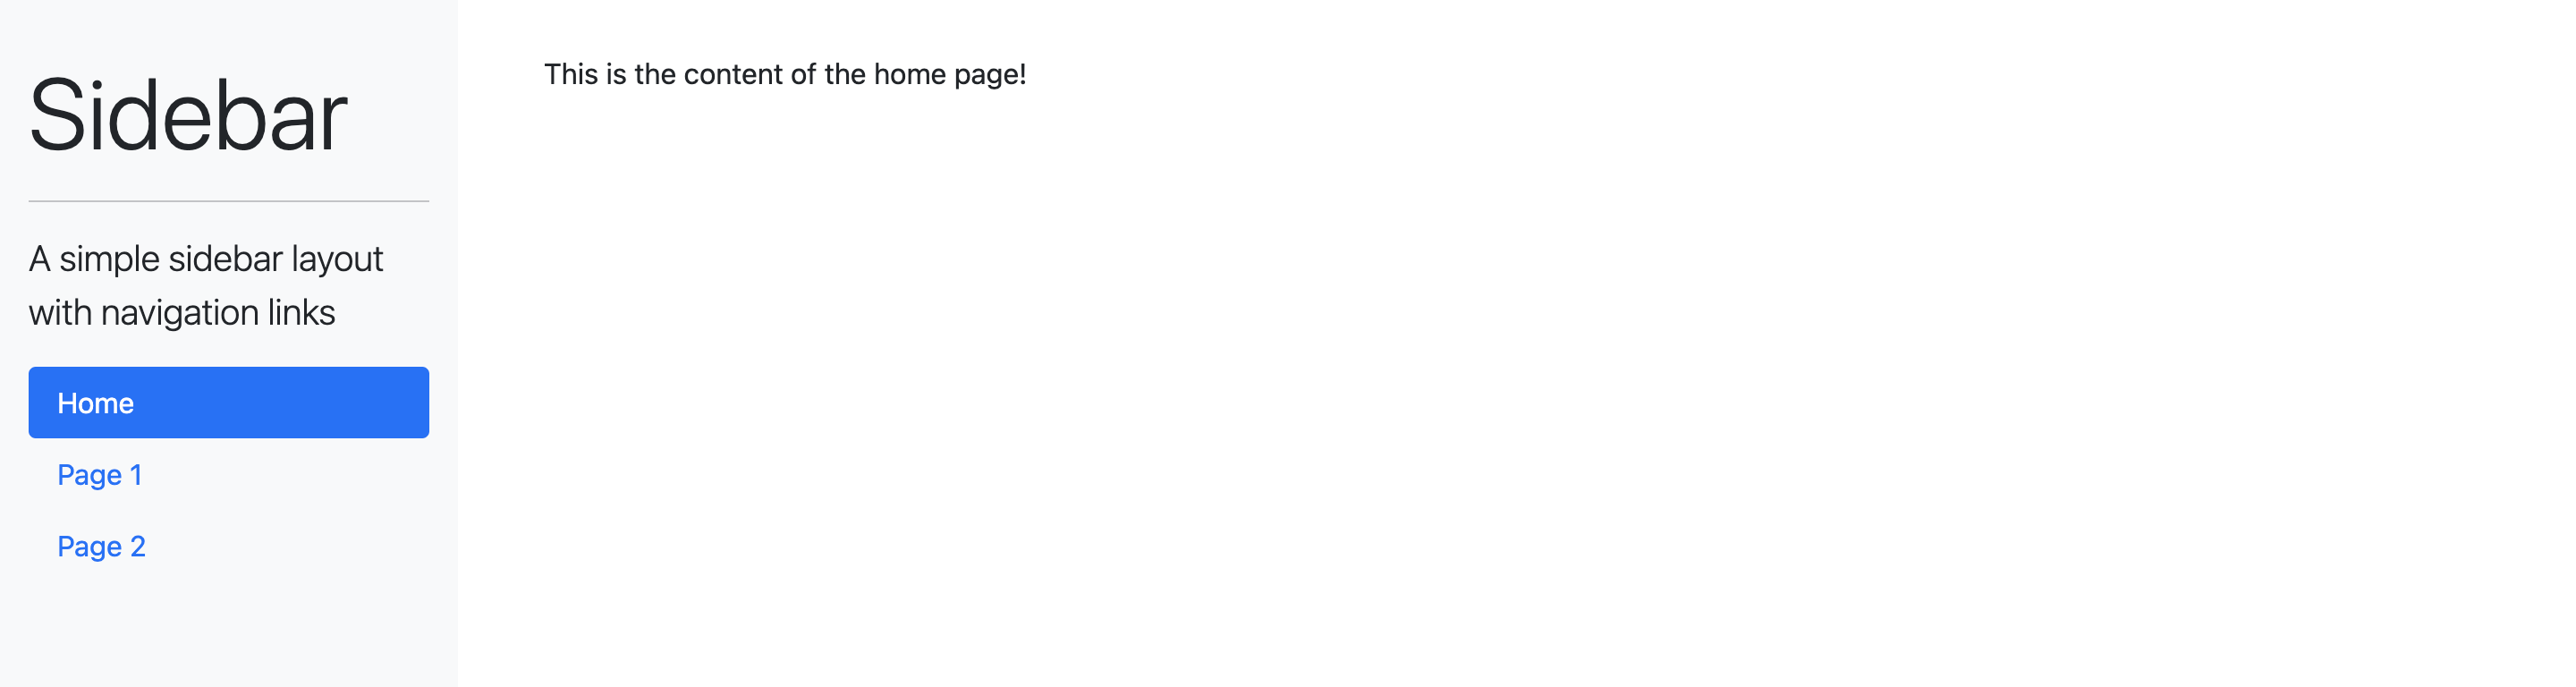
sidebarobject defines the layout of the sidebar. Replace the object with the python snippet below to change the name of the sidebar links and titlesidebar = html.Div( [ html.H2("My Site", className="display-4"), html.Hr(), html.P( "Navigation Menu", className="lead" ), dbc.Nav( [ dbc.NavLink("Home", href="/", active="exact"), dbc.NavLink("About", href="/about", active="exact"), dbc.NavLink("Contact", href="/contact", active="exact"), ], vertical=True, pills=True, ), ], style=SIDEBAR_STYLE, )
What happens if you click the About or Contact button?
You will also notice an error message in the right hand corner of the screen: "Callback error updating page-content.children".
Clicking either of these buttons will try to redirect you to the /about or /contact pages, which have not been created yet. In the next section, we will create those pages.Add an /about and /contact Page
The
def render_page_content(pathname):method on line 72 is responsible for routing traffic in your app. Here, we will changepage-1andpage-2to work with the Home and About pages, as seen above.Copy the following python snippet and replace the
render_page_contentmethod:def render_page_content(pathname): if pathname == "/": return html.P("This is the content of the home page!") elif pathname == "/about": return html.P("This is your about page!") elif pathname == "/contact": return html.P("This is your contact page!") # If the user tries to reach a different page, return a 404 message return html.Div( [ html.H1("404: Not found", className="text-danger"), html.Hr(), html.P(f"The pathname {pathname} was not recognised..."), ] )
What happens if you click the About or Contact button?
Congratulations! Your sidebar buttons will work now as you have linked the navigation links with the new page routing.
Pushing App Changes to Heroku#
Make sure you are still in your project’s root directory “MyApp”
After you are happy with your changes and verify that they work in browser, run the following command:
dashtools heroku --update
The command will create a new commit and push it to the heroku remote, created in the deploy step above. After the changes are received by heroku, your project will be re-built and re-deployed to the same web URL as before.
Congratulations, you have successfully made changes and updated your Heroku app!